Building the Planck - Ortholinear mechanical keyboard
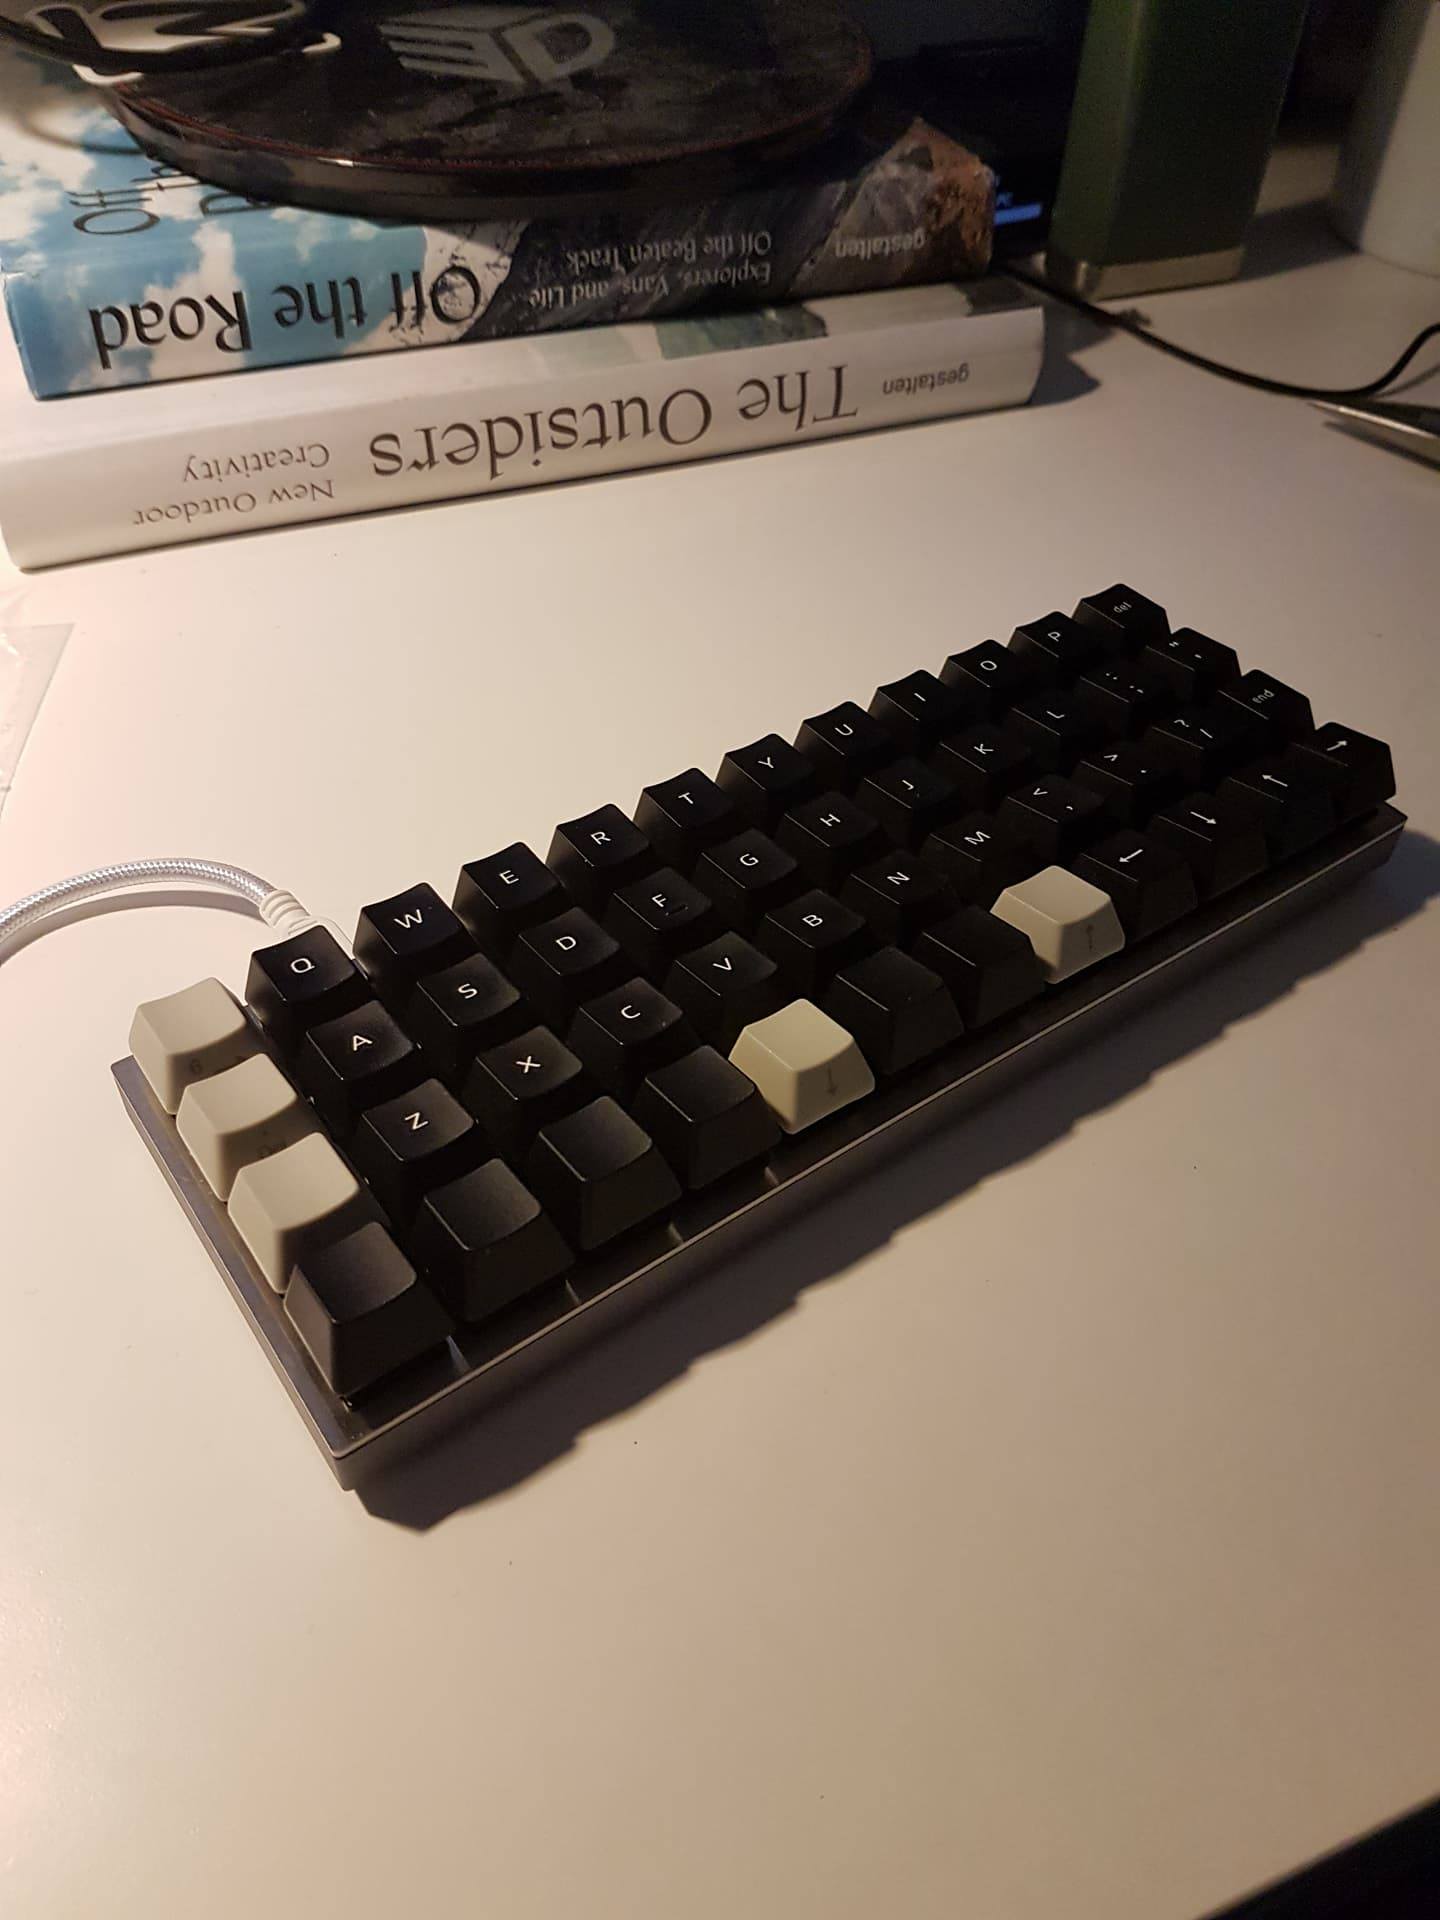
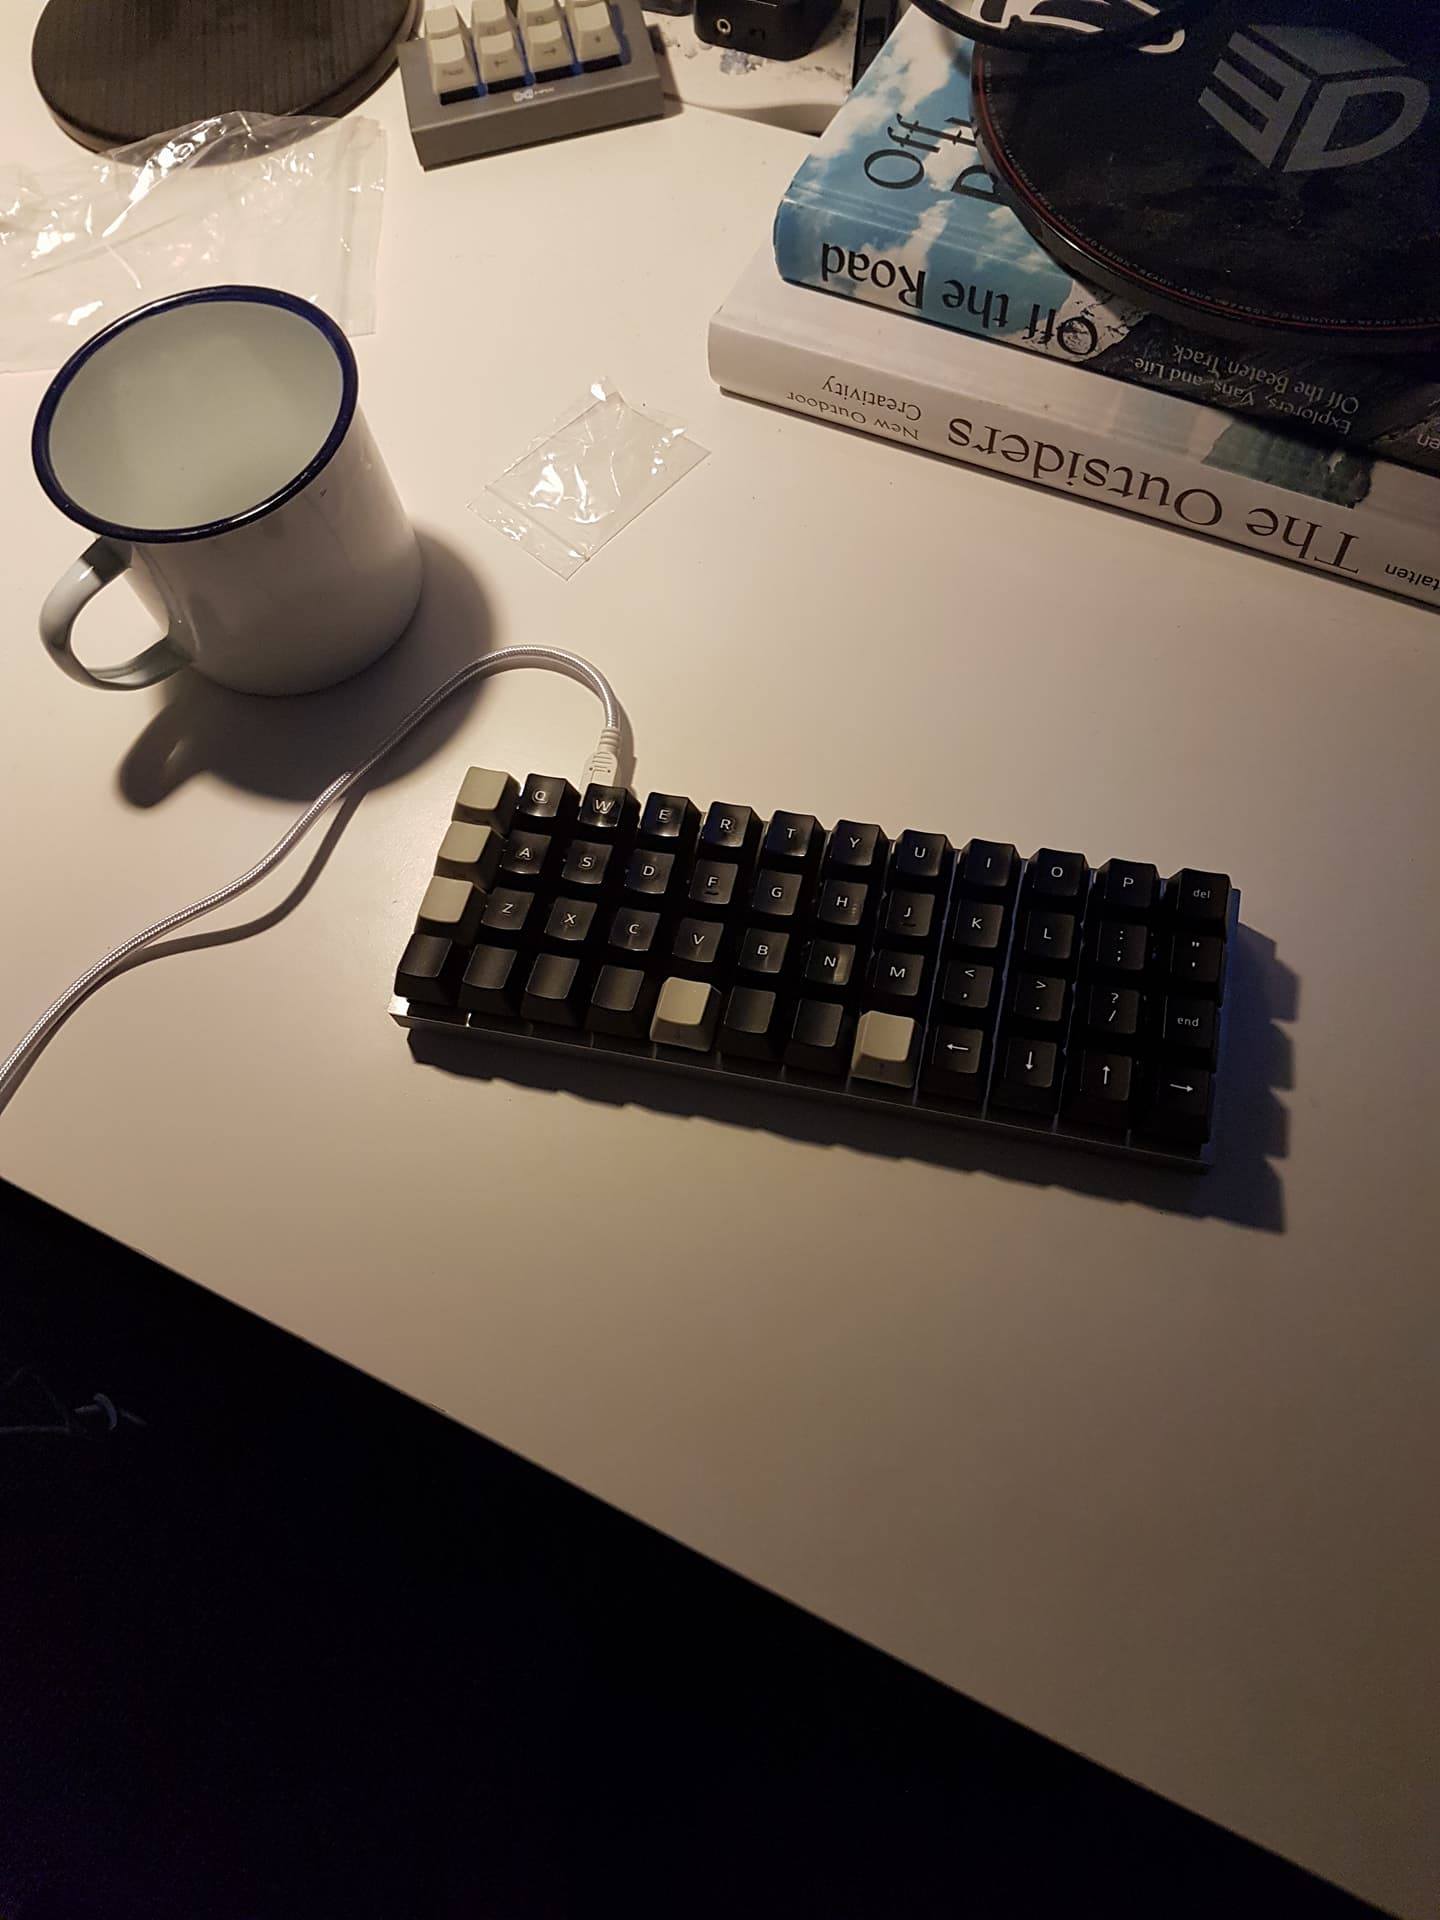
Obligatory money shot first 💰💰💰
I bought my Planck through Massdrop earlier this year.
It has been a few weeks since it arrived and I put it together (the same day, of course), but I thought I would document the process with some pictures and thoughts/notes for posterity and others interested in the build and maybe getting their own.
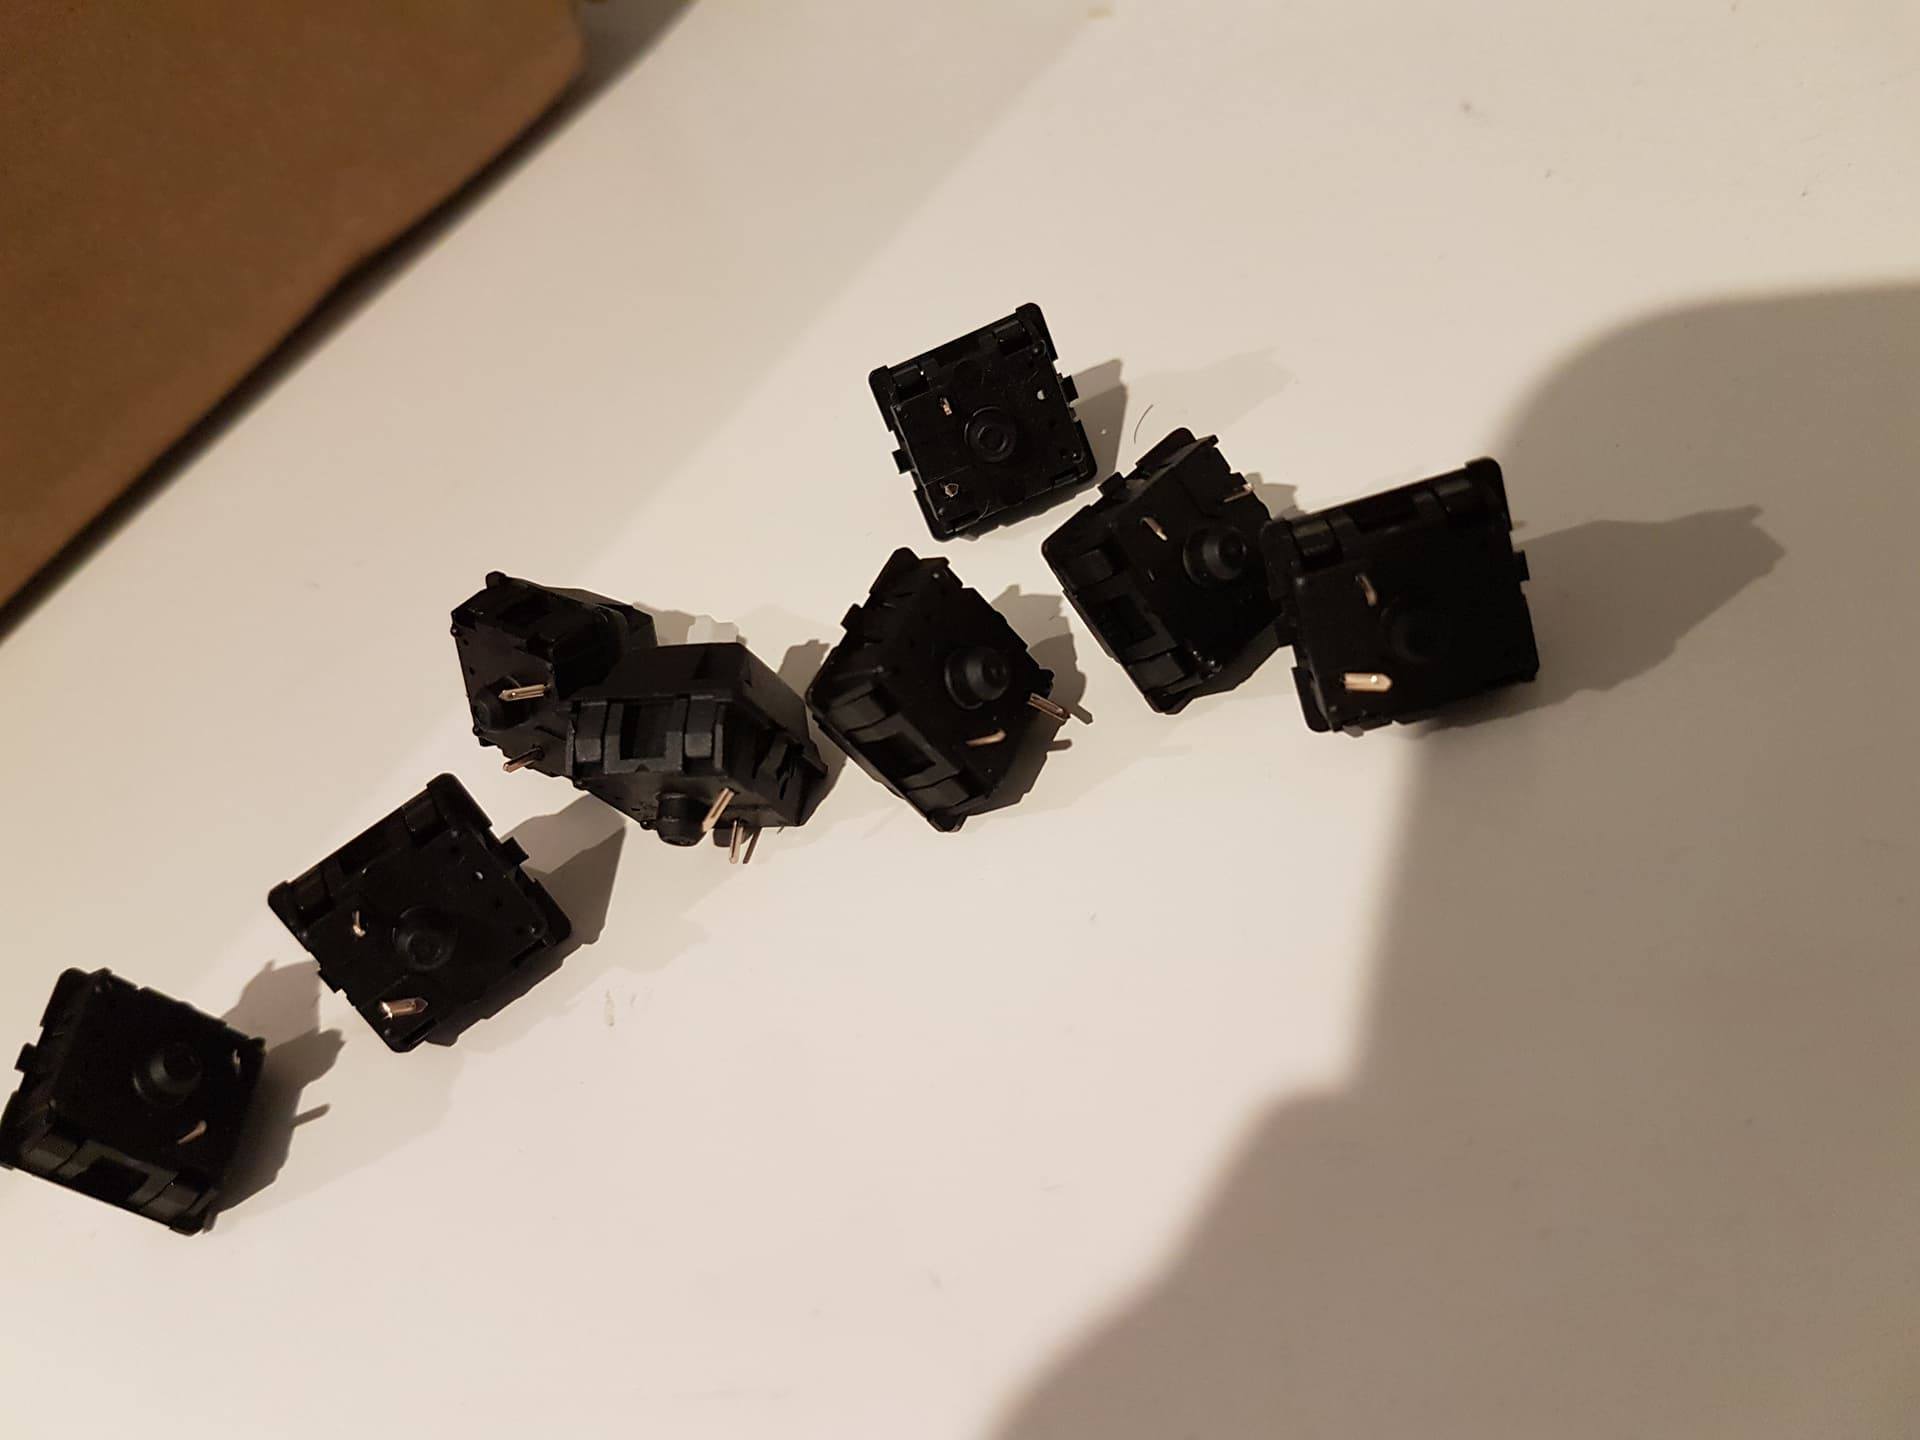
When I opened my package I was disappointed to see that the plastic packaging holding the switches had burst during transit.
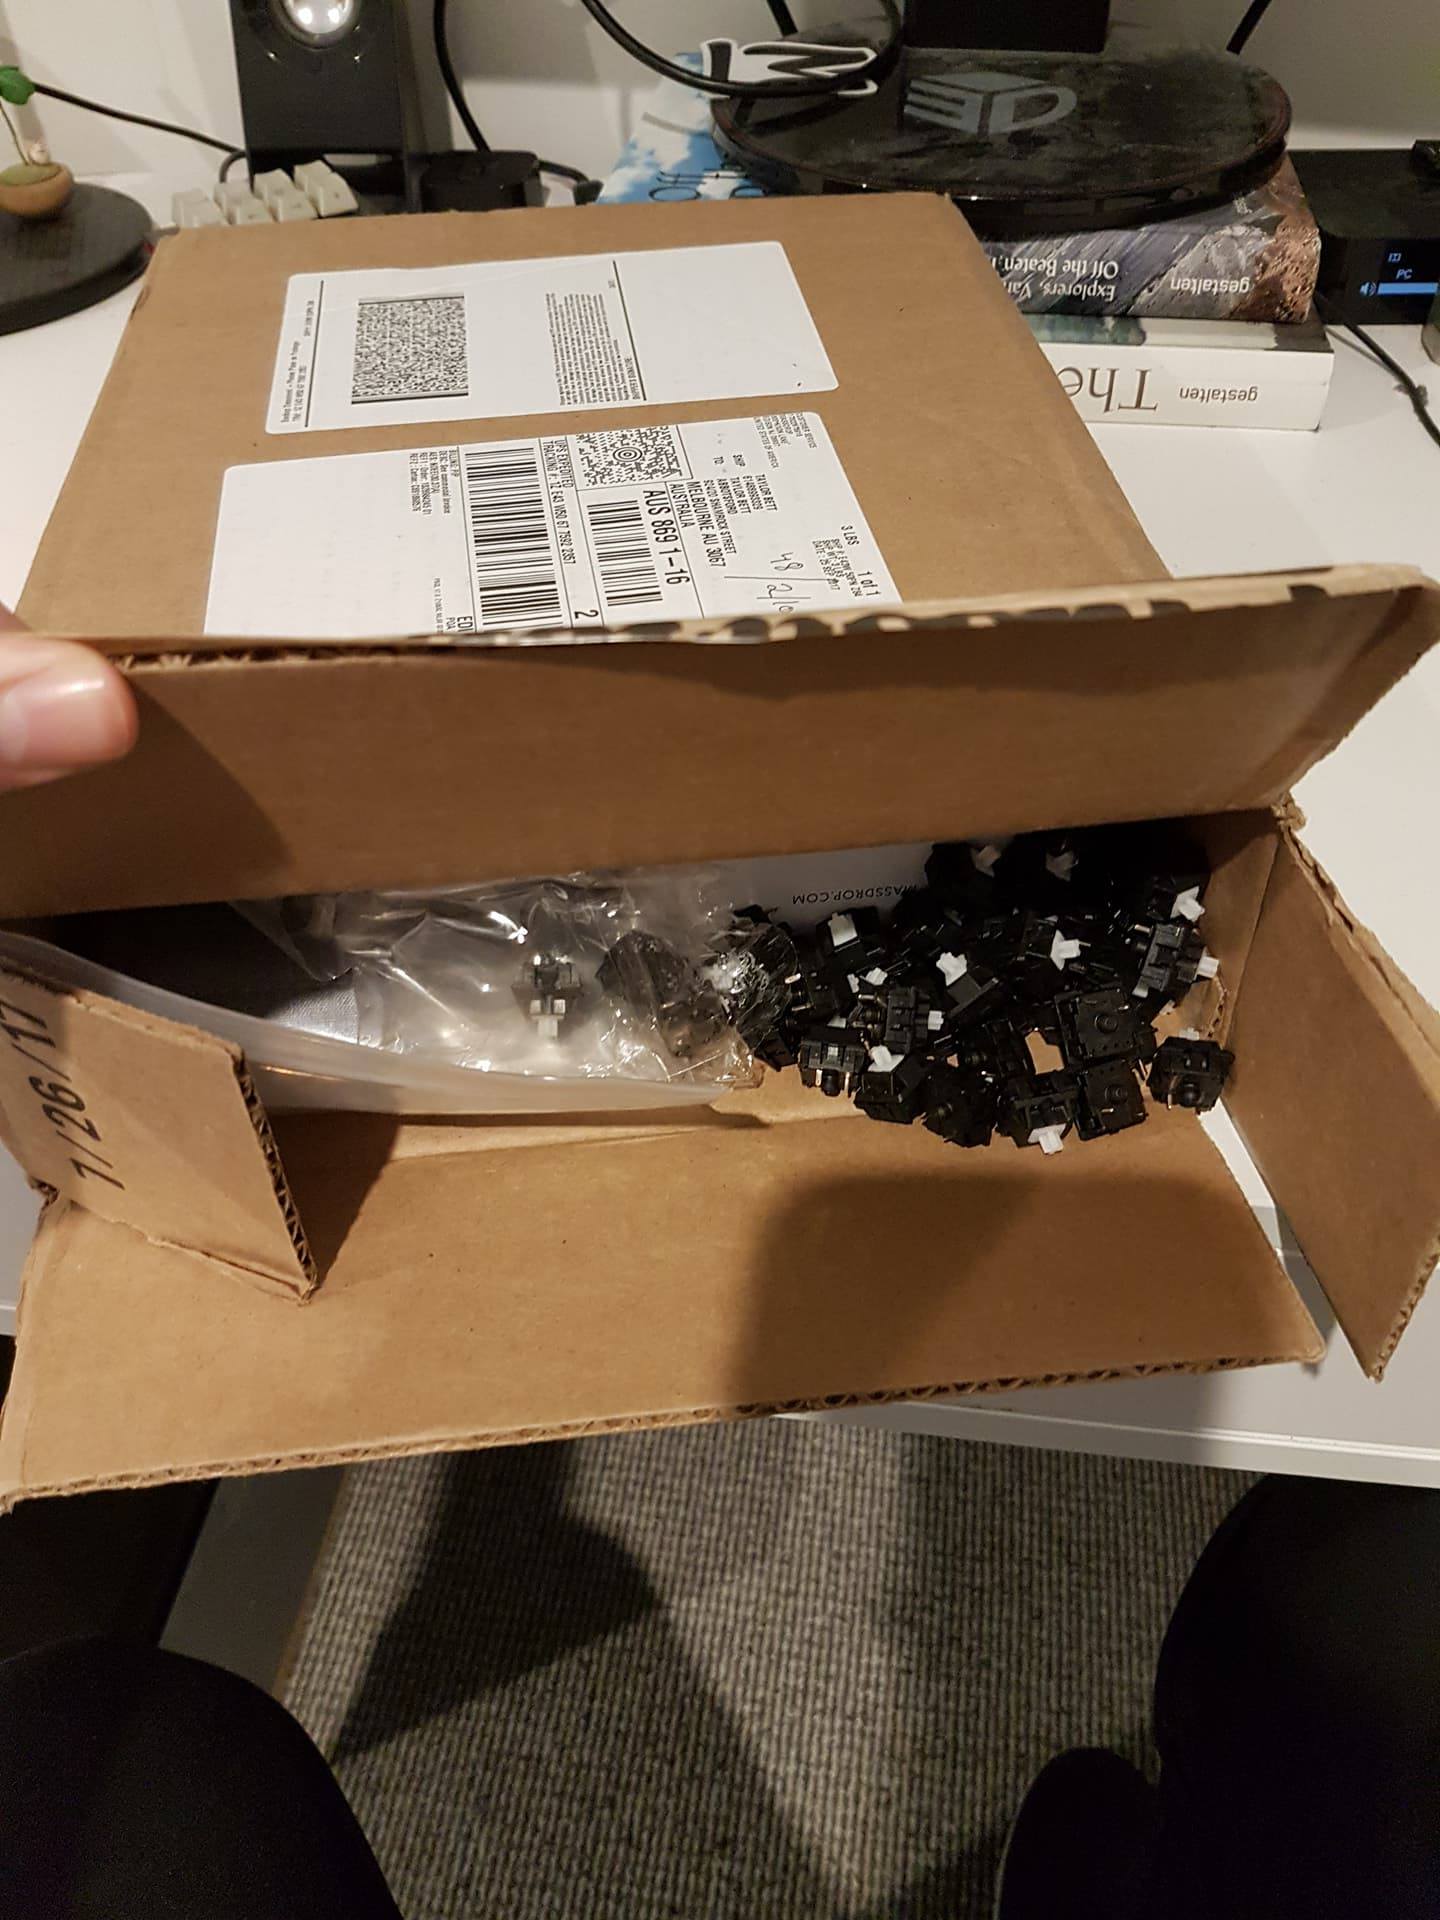
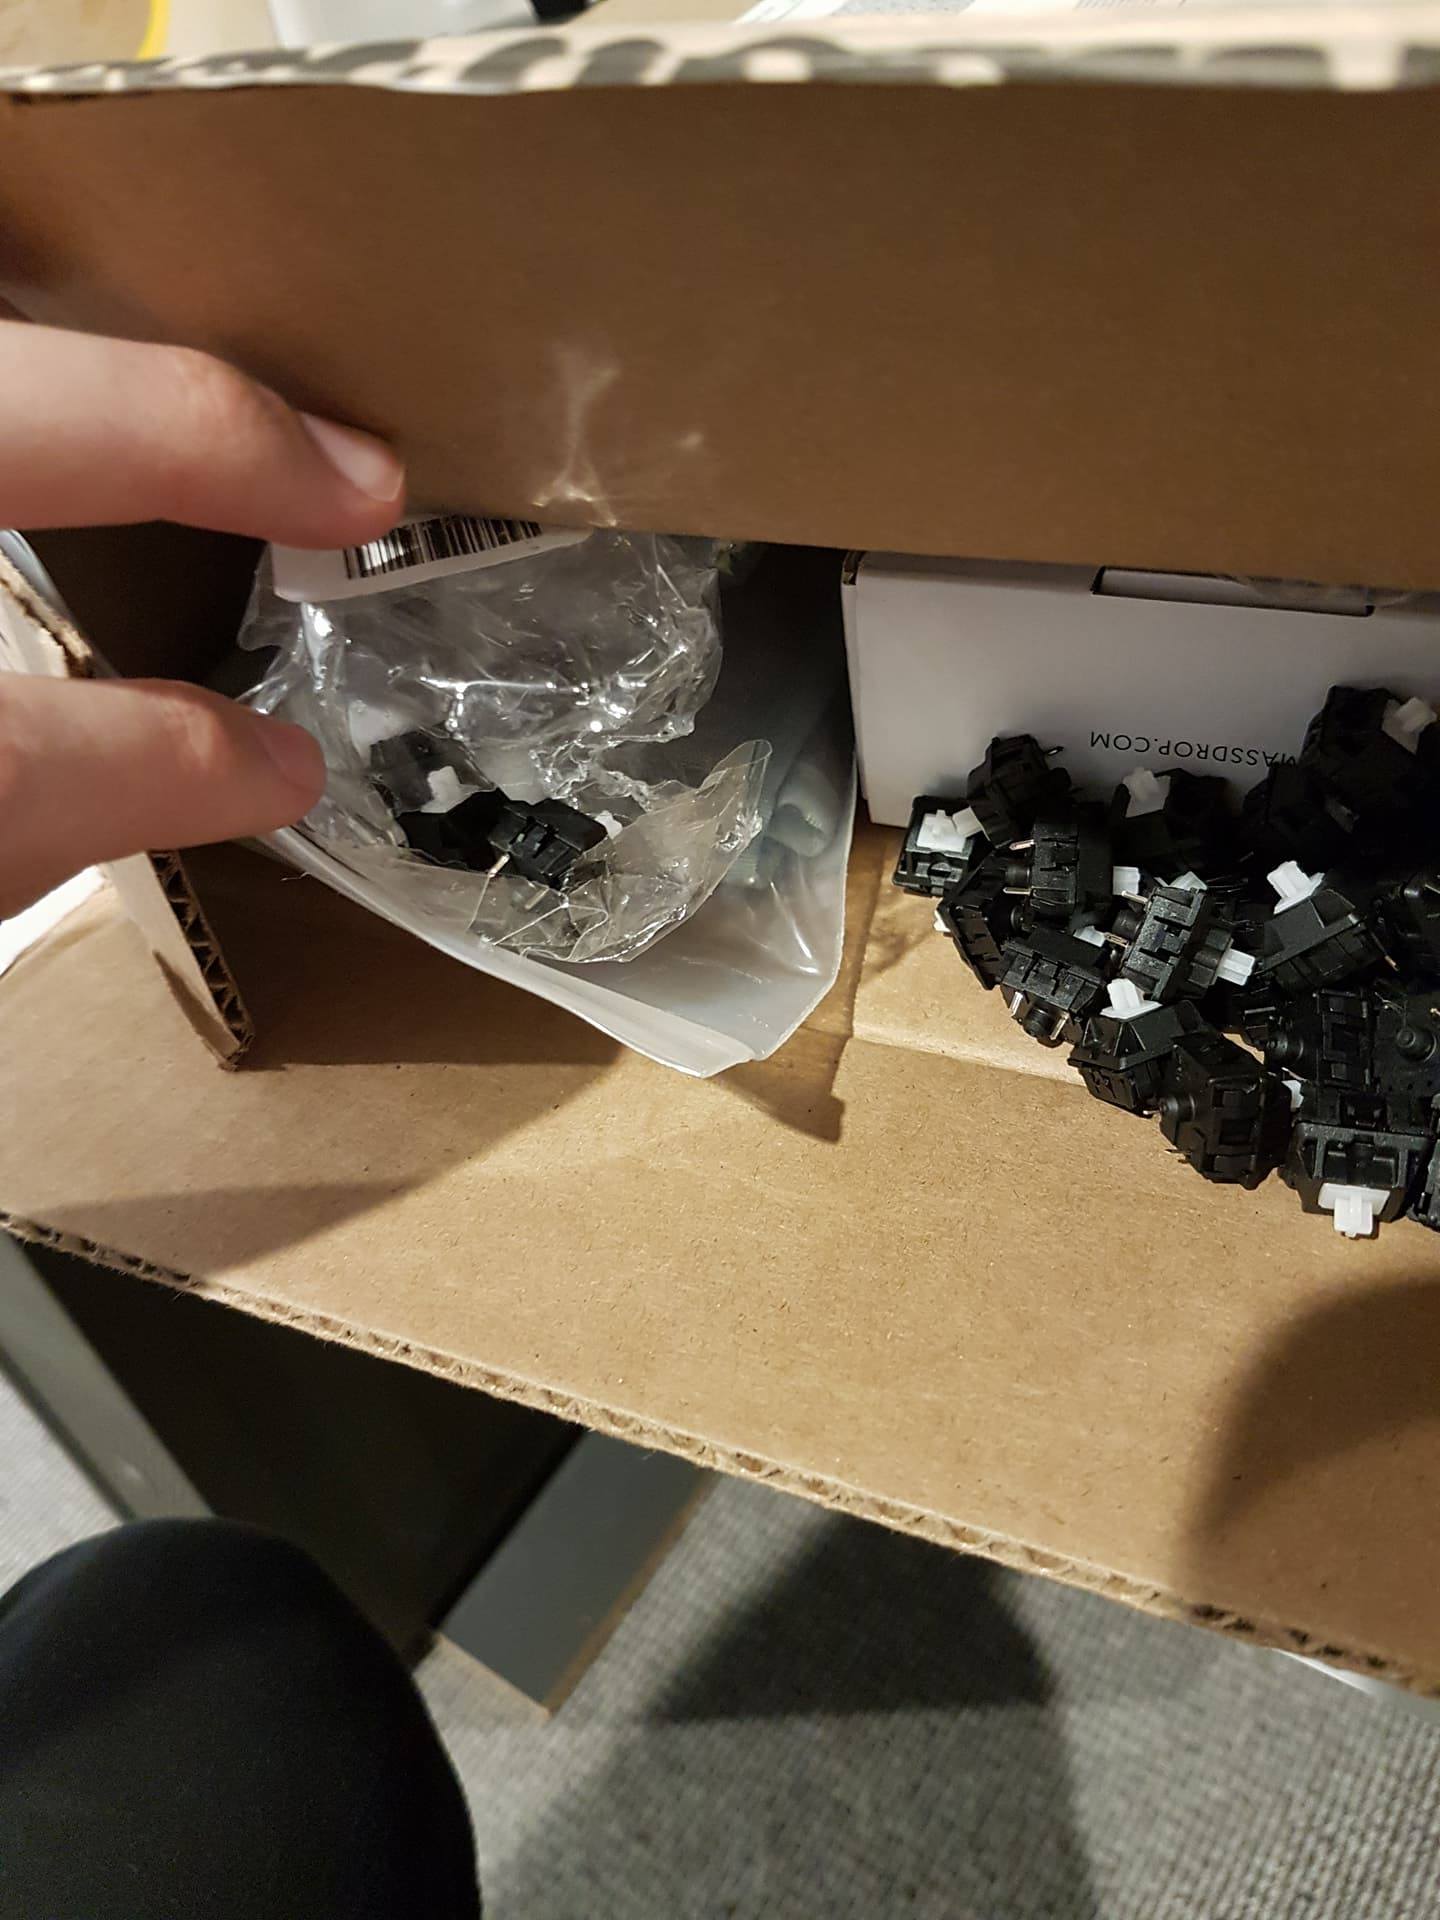
This was my first build from scratch (a kit), so I was a bit concerned to find that some of the pins on some switches had been bent due to floating freely around the packaging, although this did not prove to be a problem after straightening them out by hand and some tools in some more drastic cases.
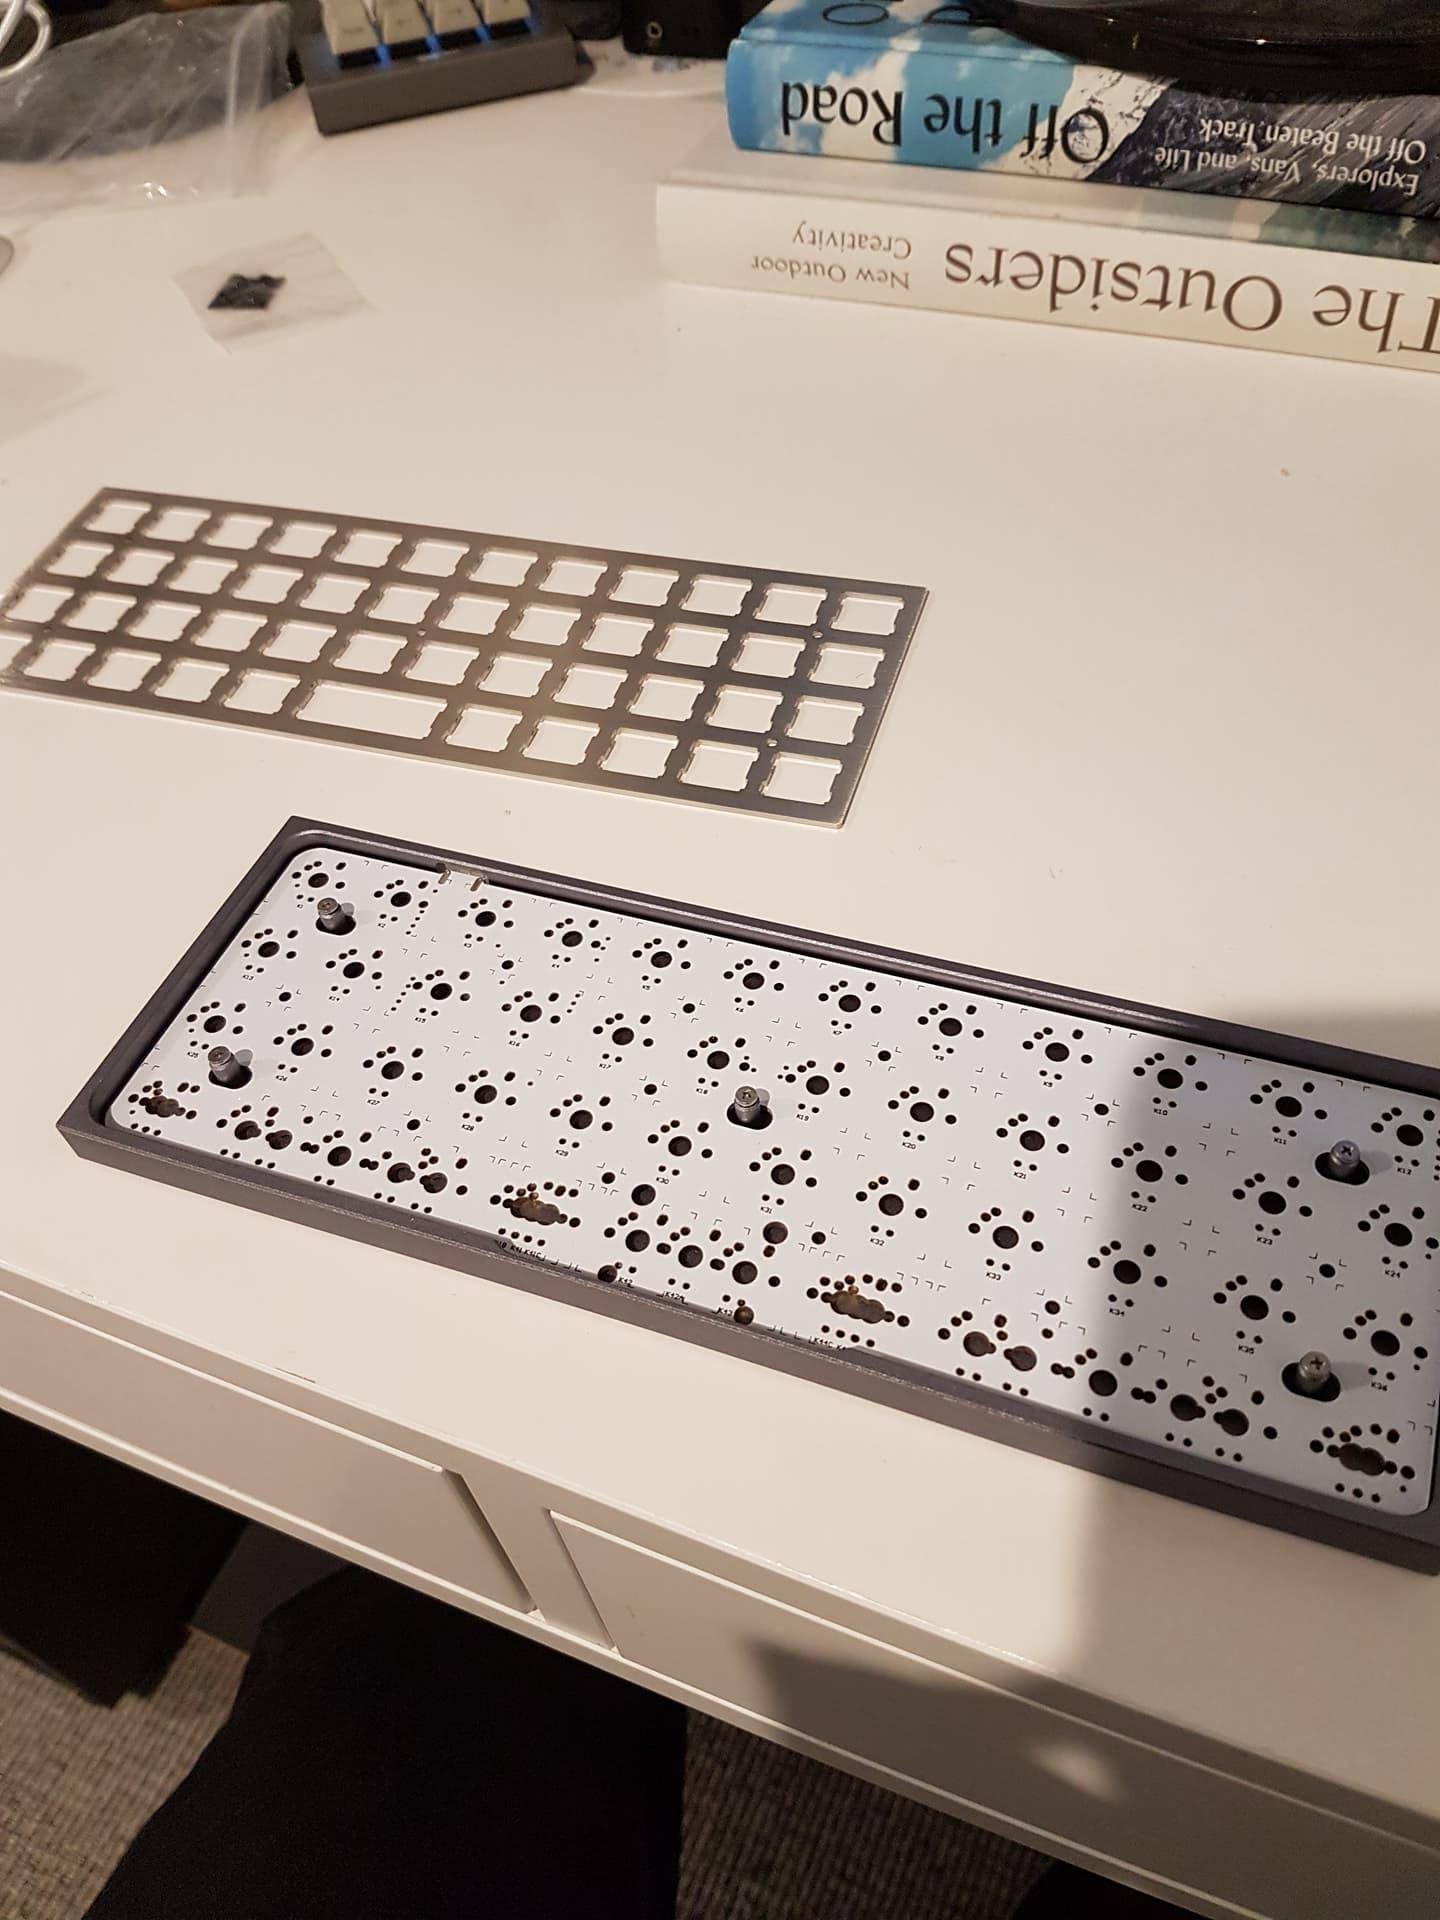
Inspecting the base and metal ortho plate, looks pretty cool because of the grid pattern!
Keeping the bent pin switches separate (smaller pile) so that I could go through and correct them.

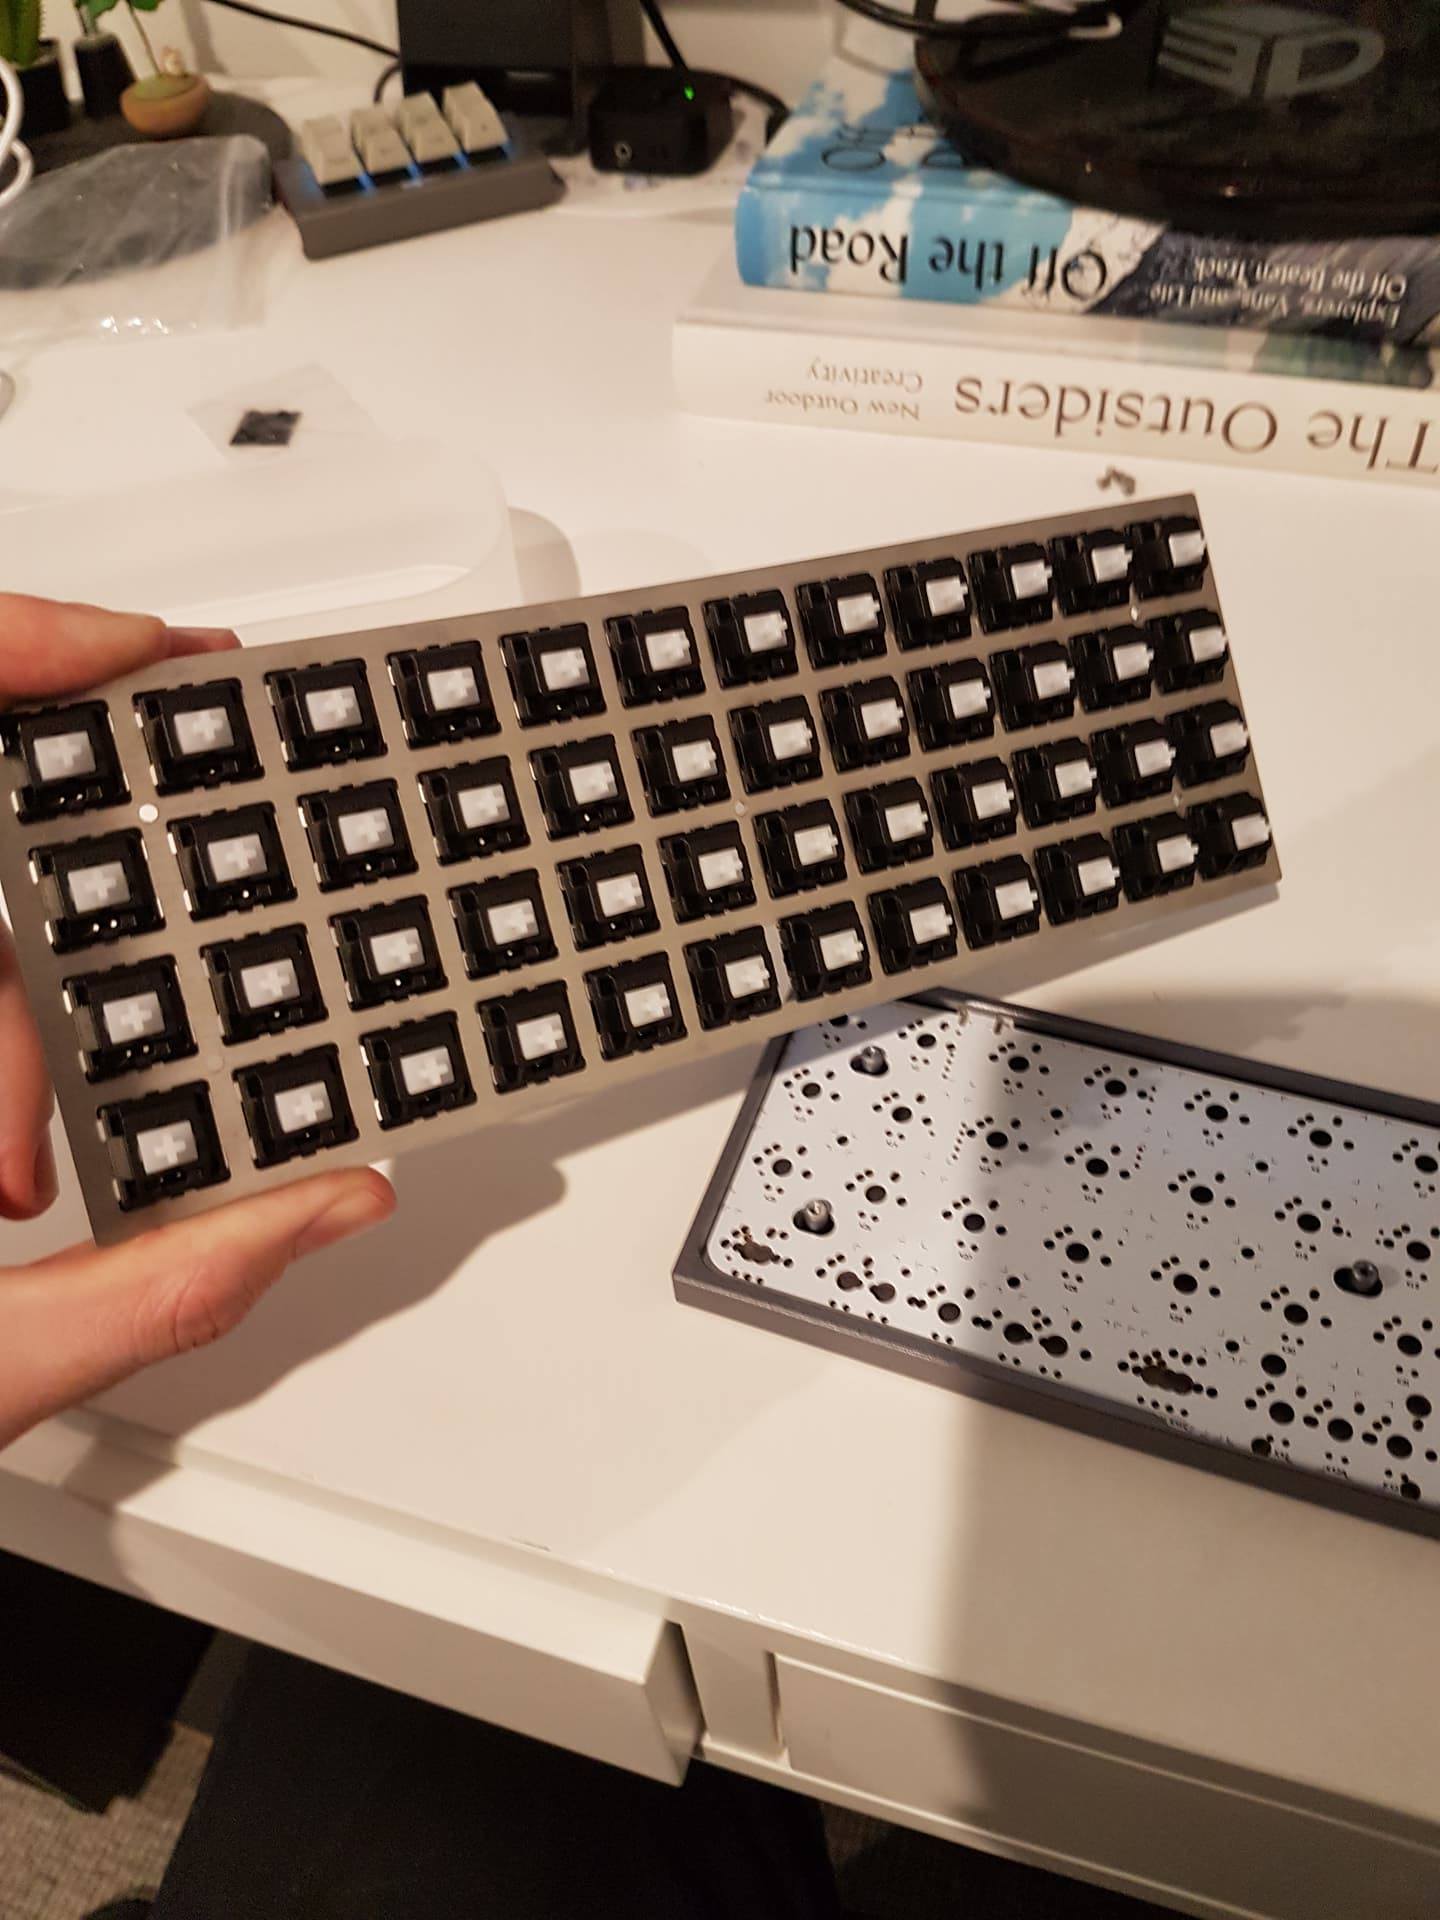
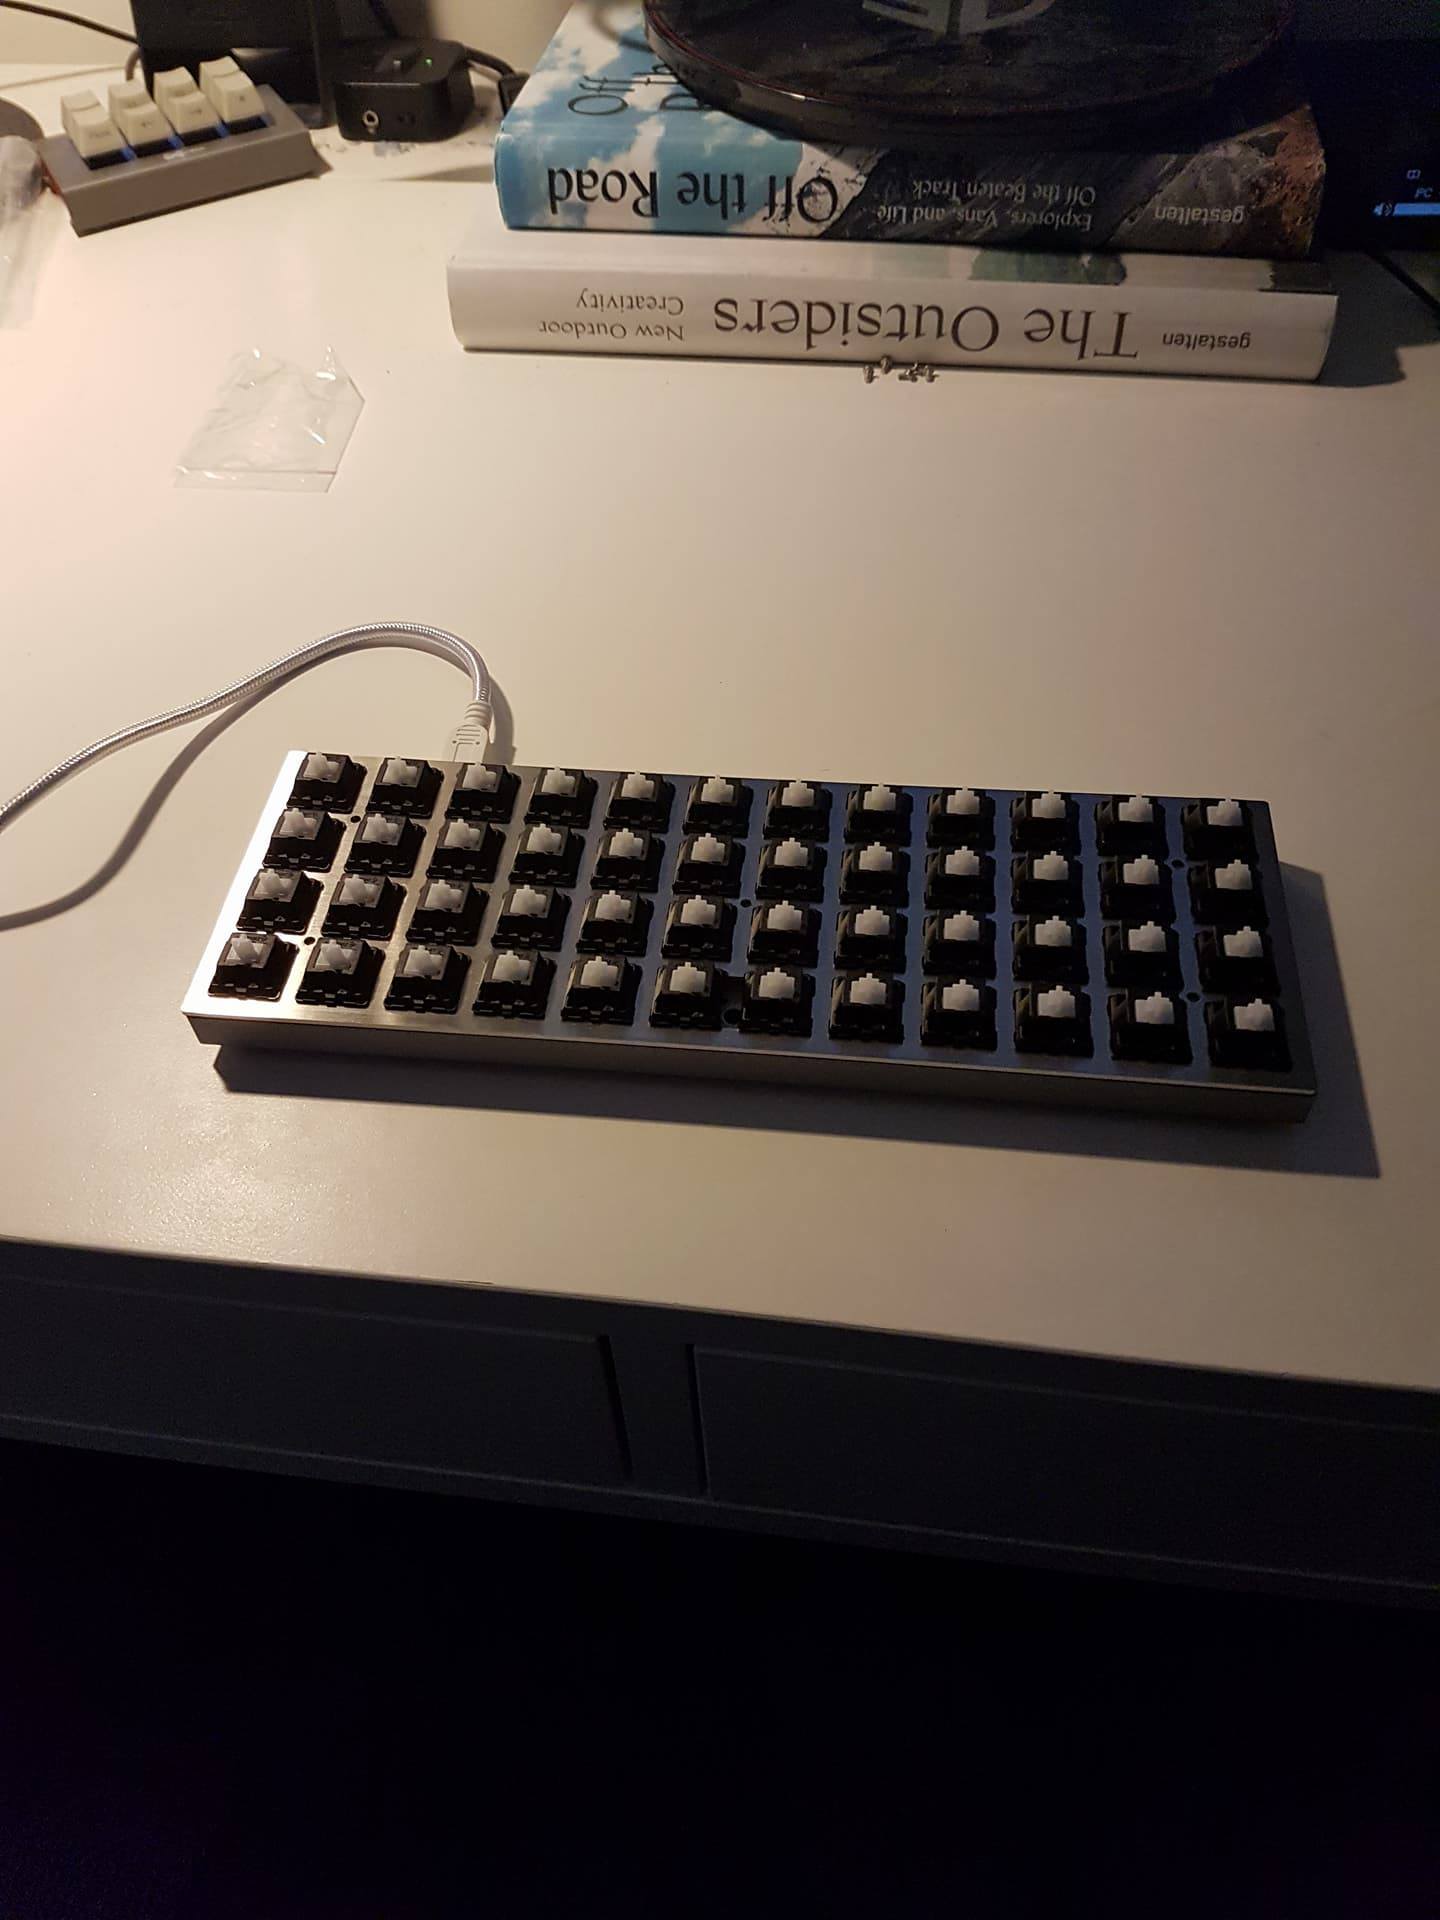
All switches inserted into the plate! I made a mistake here for my setup, turns out that using the longer space bar keycap requires just one switch (duh!), but I put both in place, so now I have two separate space bars, which is a legitimate setup but not my preference.
Still need to get around to fixing this, frustrating because need to break the board back down and de-solder both switches then move one to be central…
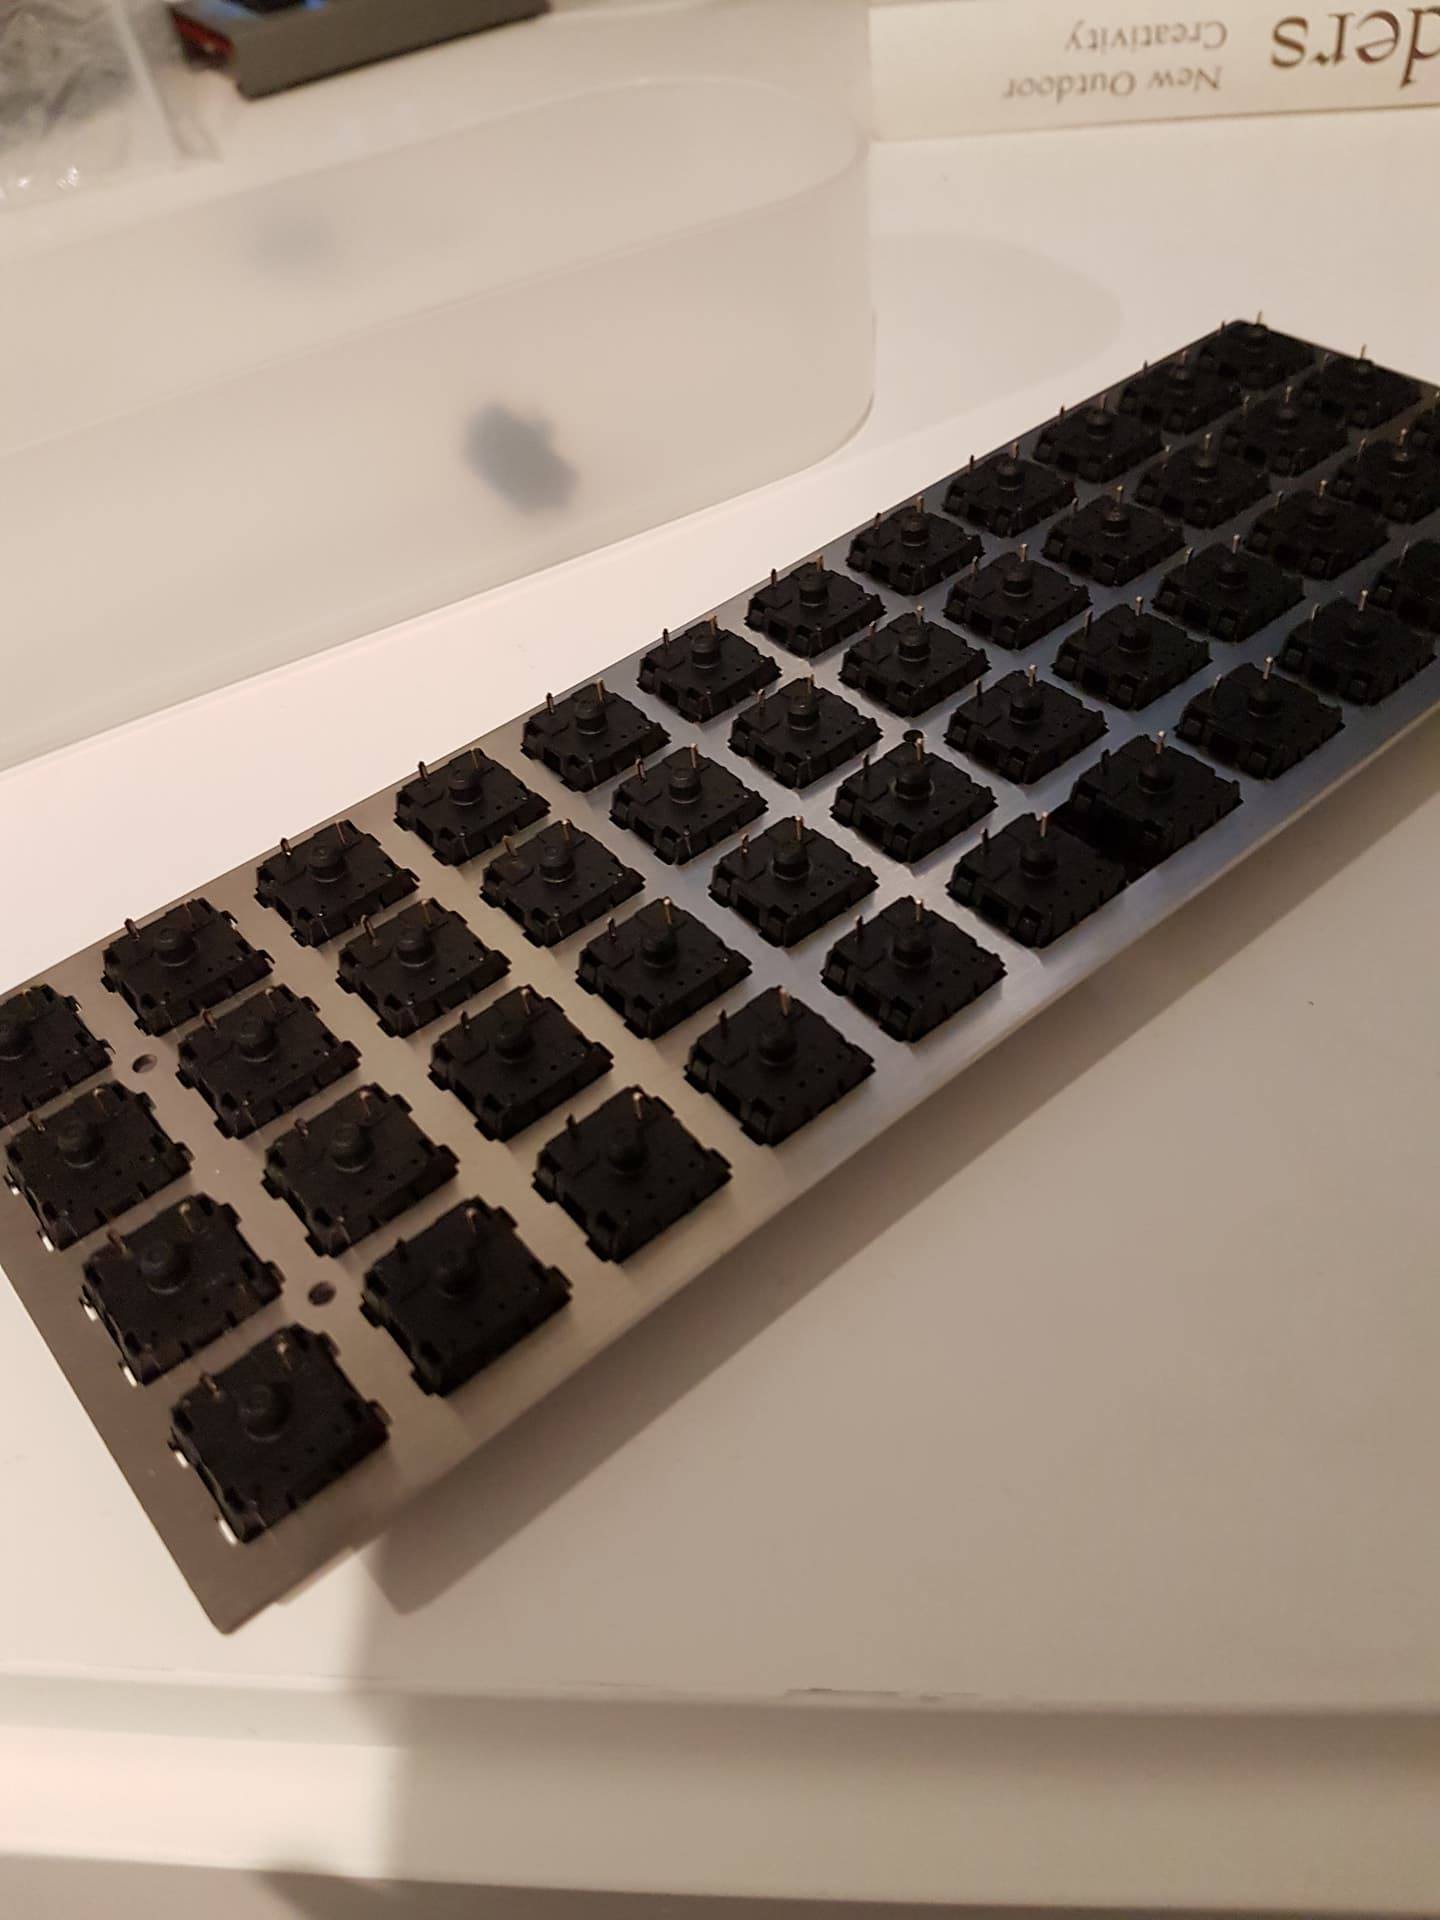
Pins poking through the PCB, looks to be all good! Although I was still nervous about the bent ones at this point..

Soldering took a while, only my second ever real soldering project, but turned out well.
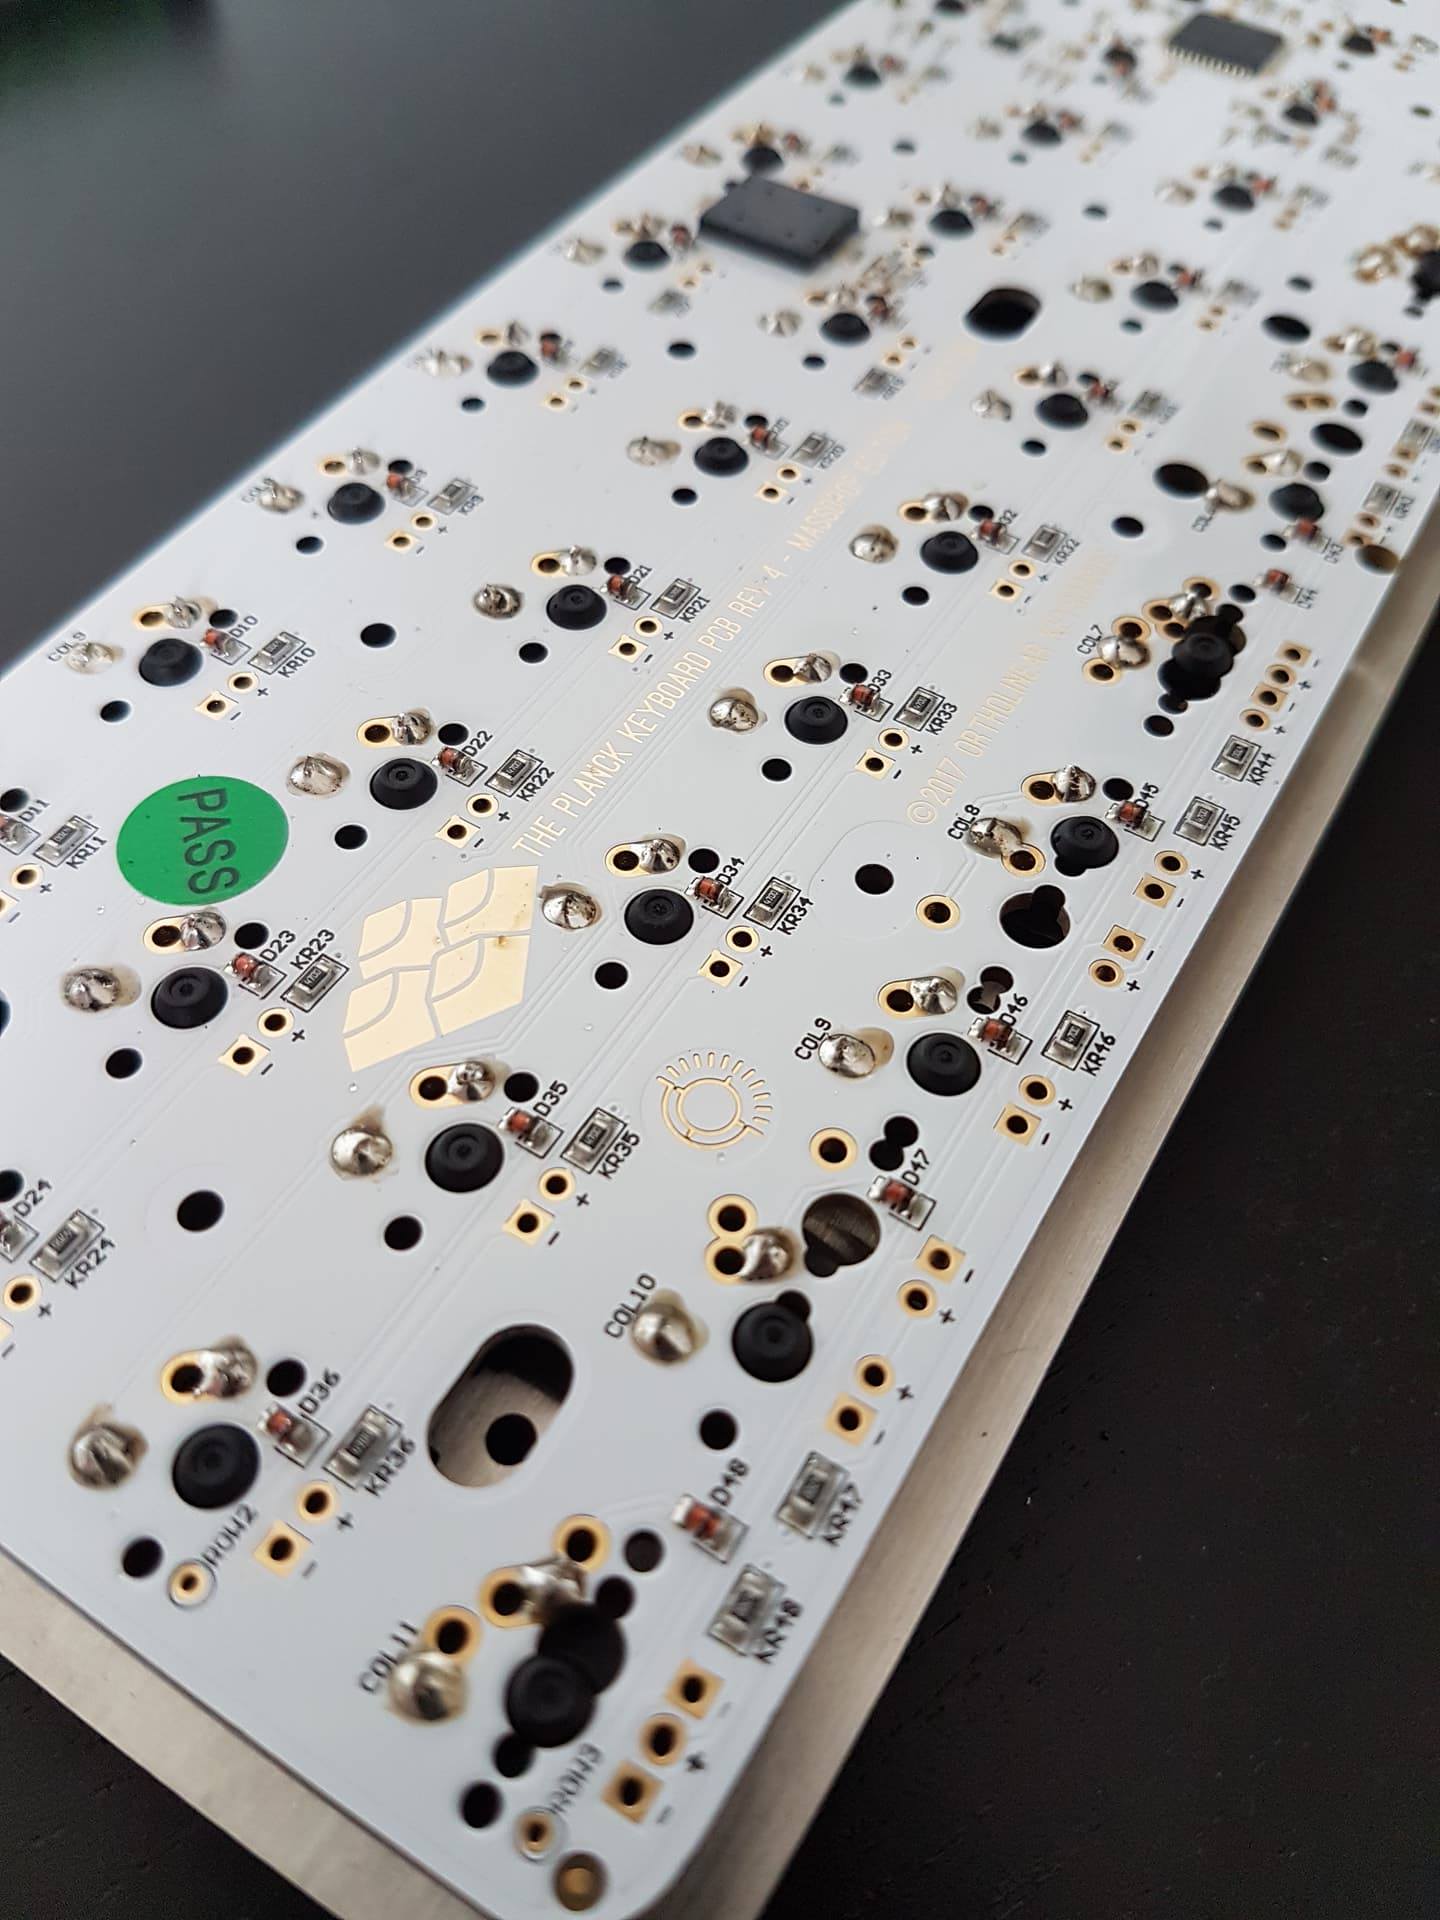
PCB and switches placed into the base now, time to test! Plugged into my PC at this point and heard the PCB chirping (the Planck has on-board MIDI, very cool), tested every switch. Success!
Keycaps on, bit of a mishmash of keys scavenged from my 100% DAS Professional 4 (Full size keyboards begone!) and another set that I purchased from Massdrop in this front-printed gray. Very happy with how the build looks! In fact the asymmetry has grown on me, I still haven’t changed the caps, although I have another shipment coming soon…
Thanks for reading! I would highly recommend this kit to anyone looking for a very unique and portable keyboard. I will be installing some LEDs in the future and have already customised the keymap slightly to remap the arrow and media keys to my preferences, as well as some small changes for characters frequently used in coding.